navigation
rebuilding & restoring N3876K - part 2
by Steve and Barb Wilson
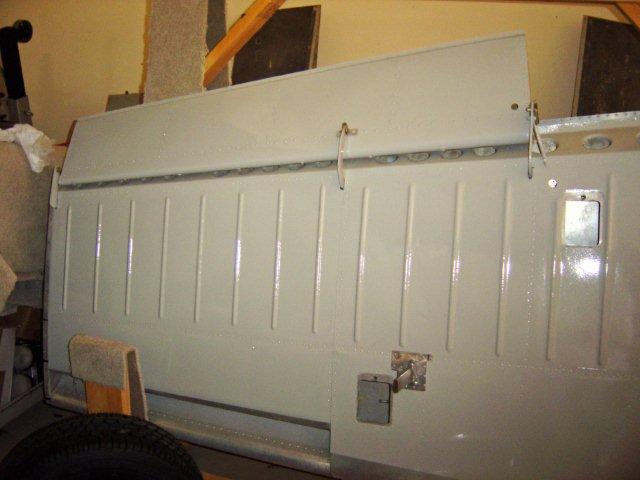
At the end of the first installment (read Part 1 here), all major repairs were done and the underside of the fuselage, center section, wings, and horizontal stabilizer were painted. During the last week of December 2006, the fuselage and center section were finally mated. After eight years, Swift N3876K finally stood on its own gear.

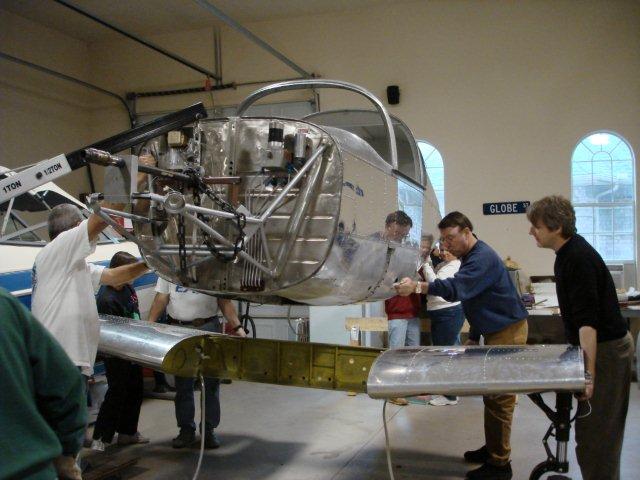
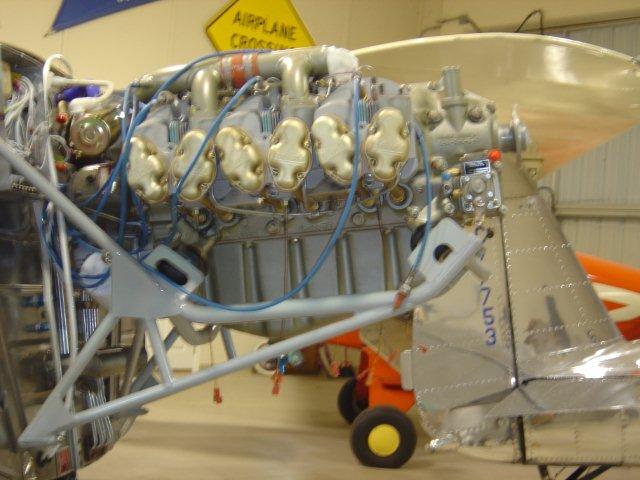
The next project was to hang the engine. Maybe we should stop here and state that we purchased Swift serial number 2066, which had been involved in an accident so as to obtain the many STC'd alterations on that airplane. As a result, some of those STC'd alterations were converted to the project airplane. At first we tried a Jack Nagle engine mount. Two problems were evident; the engine hung too low, and there was not enough room for the vacuum pump to clear the firewall. We removed the engine and mount, made spacers to extend the mount enough that the vacuum pump would clear. Still, the engine sat too low for the stock cowling to fit and look right. This was not going to work! We took the engine off again, and acquired a Charlie Cummins' mount. The third time was the charm! The engine and mount worked great with the stock cowling. There is room to remove the alternator, and possibly the vacuum pump without removing the mount. A surplus 12 volt motor originally used as a snowmobile starter motor (obtained from Jim Montague), was used to replace the original motor on hydraulic power pack, via an FAA Field Approval.

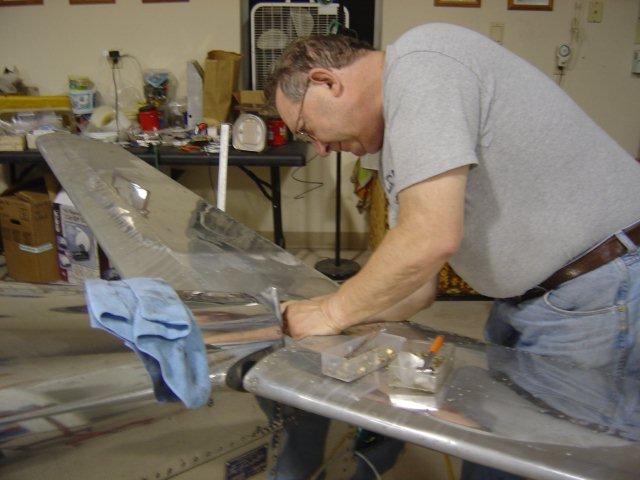
Before the wings could be attached, we first had to install the gross weight increase from Merlyn. While the airframe was apart we replaced all the control surface bearings with new. We installed a blade type heated pitot along with the static ports in accordance with the "Luscombe Letter." The wings with ailerons attached, went on without a hitch. The wing tips on the other hand, needed a lot of work. The left tip was the original off this airplane; however, the right tip was one rescued by Joe Ranson from the scrap pile. Thanks to Pat Moore and his home made tools, Barb was able to get most of the dents out, and they now look quite respectable.
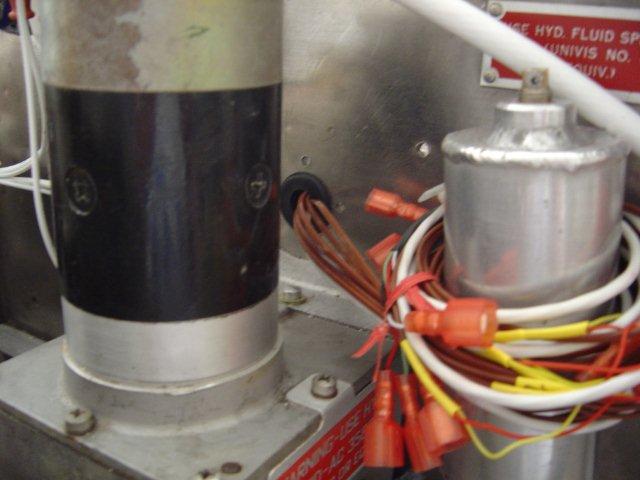
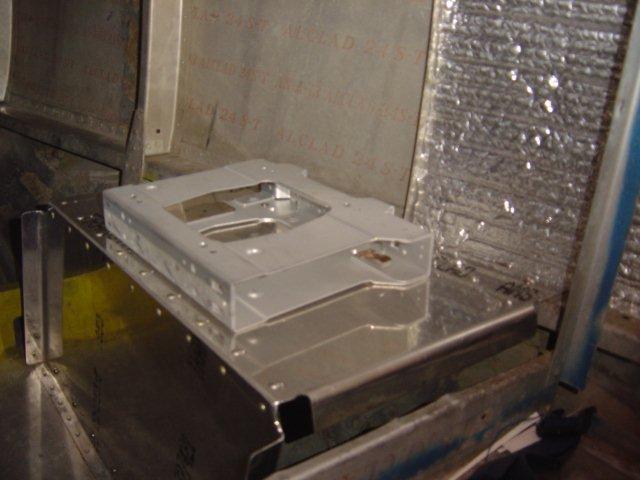
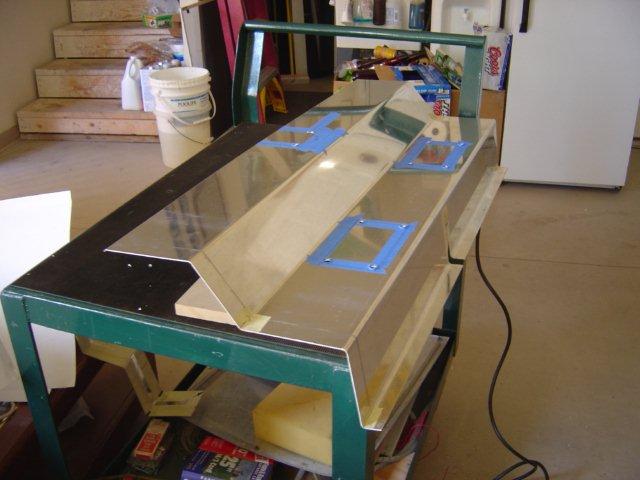
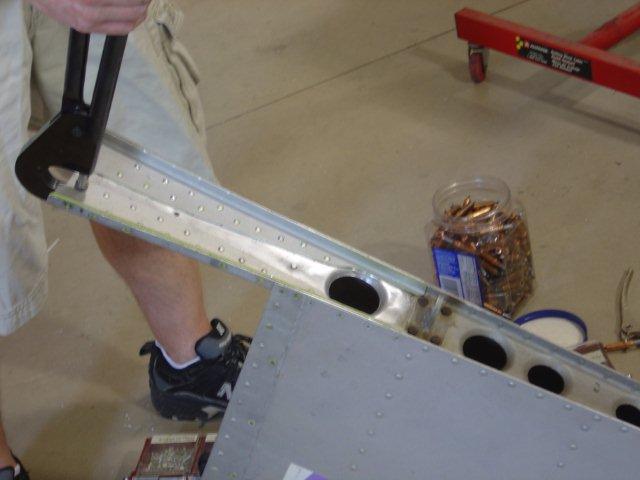
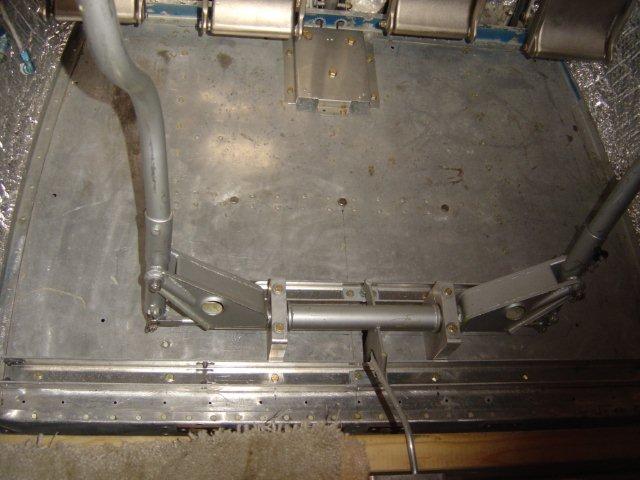
We replaced all the control cables with stainless steel, and repaired or replaced all the pulleys. Many small projects were going simultaneously. The battery relocation shelf and an equipment shelf were made and installed behind the baggage compartment. A Whelen three strobe system was added with the power supply mounted on the side of the relocated rear battery shelf, along with the ELT, and battery contactor. The floor piece to fit over the sticks was cut, bent, and fit. The wiring from the fuselage and center section was connected.
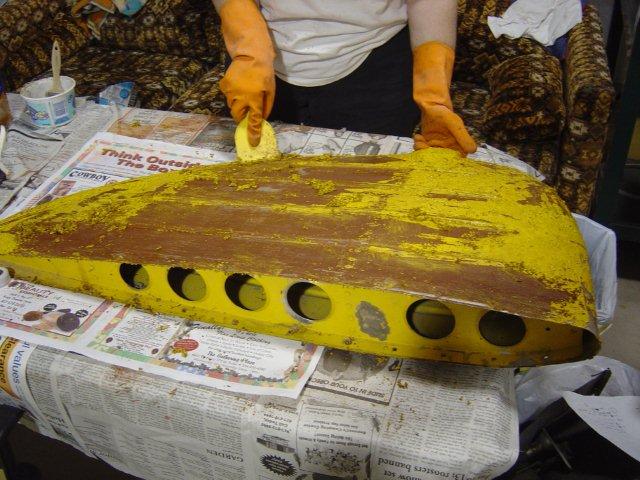
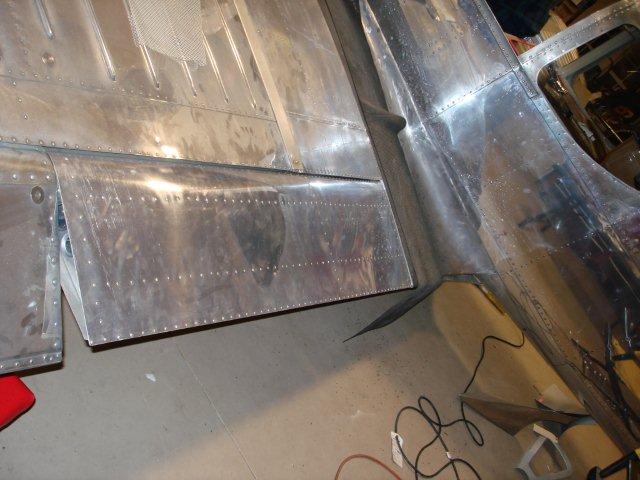
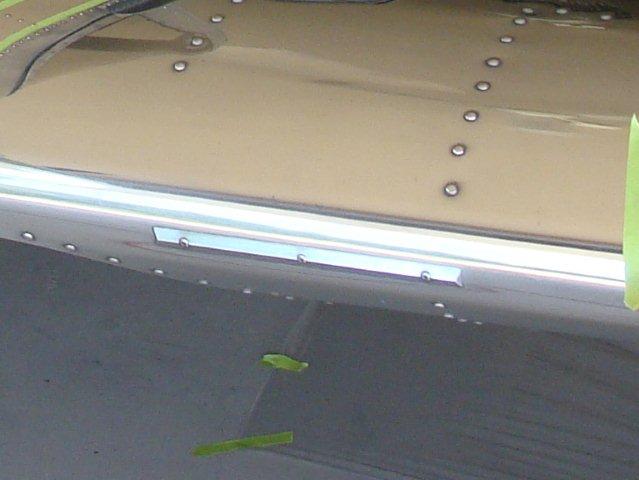
We had to re-skin the left flap, which rounded out our final repair needing an FAA Form 337. Replaced the side and sliding window glass with countersunk screws.
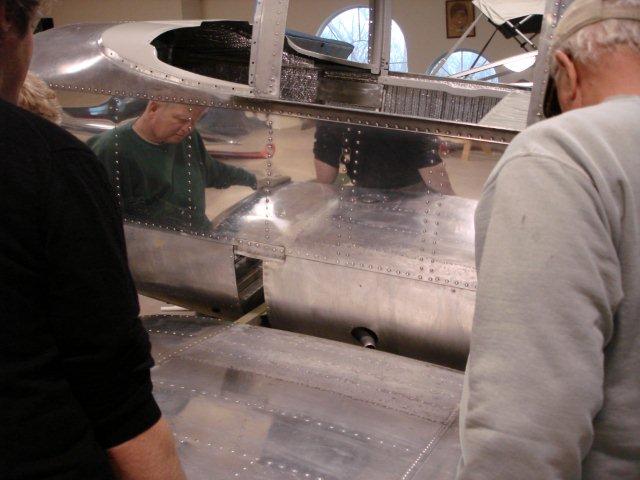
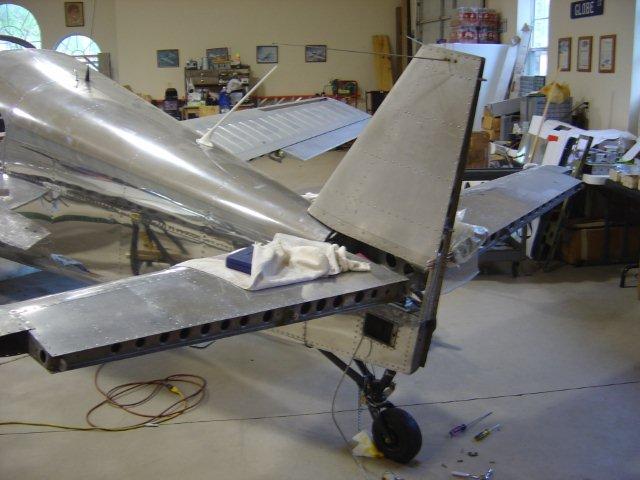
We had to repair the horizontal stabilizer rear attach fitting that was discovered with broken/loose rivets. Next we installed the "Swift" vertical fin beef-up kit. Barb made the Balun installed inside the vertical stabilizer for the VOR antenna. The tail sections then went on without a hitch. Since the fuselage, center section, and horizontal stabilizer were not from the original airframe, the tail and wing root fairing holes did not line up perfectly, requiring a lot of rivnut replacements. That required installing and removing the fairings so many times we lost count and wore out lots of screws.
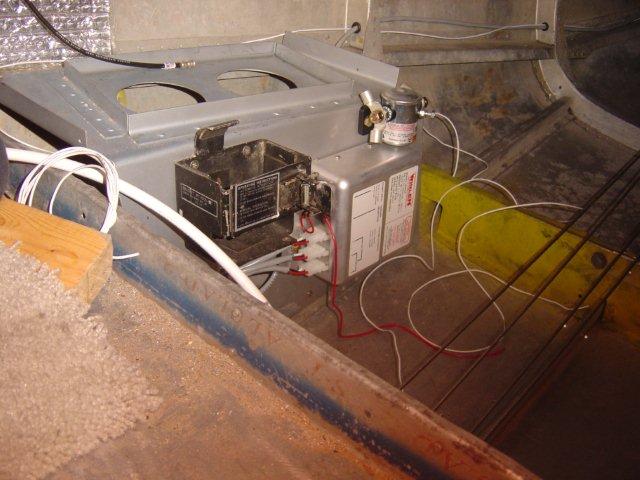
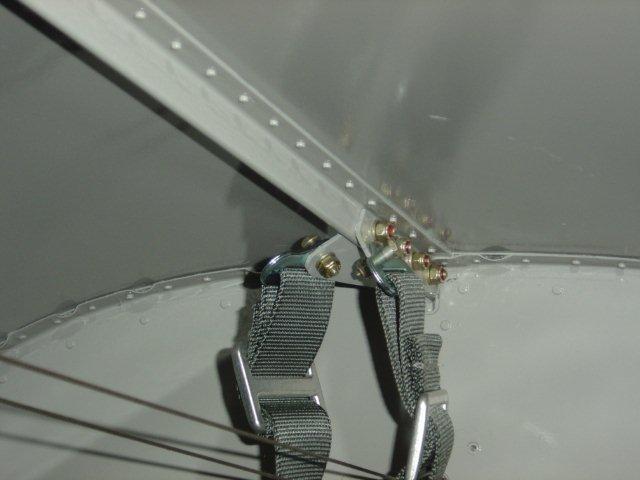
We installed the following items per STC: Cleveland brakes and wheels we found at Oshkosh; Corbin 9 gallon auxiliary tanks (belly tanks), we were able to find from a former Swifter in North Carolina; Shoulder harness brackets according to the Weaver STC; a dual stick control system removed from Swift S/N 1144; a heavy duty bubble windshield new, from Aircraft Windshield Company, in Los Alamitos, CA; Ziftronics overvoltage sensor, and alternator regulator; and a Mitchell Century I Autopilot.

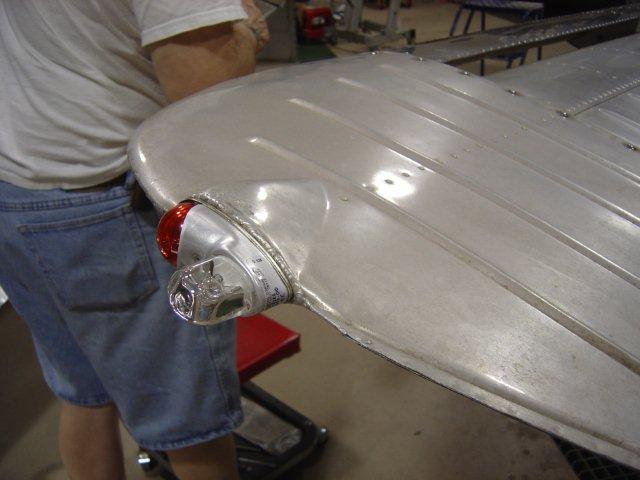
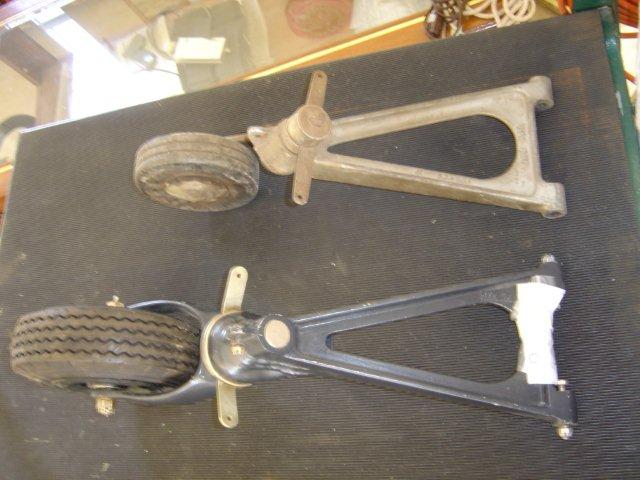
We installed the following items per Field Approval: The engine installation was basically according to the Merlyn STC removed from Swift S/N 2066; however, there were several deviations from the STC, which required a field approval, like a 76" prop Vs a 74" called out in the STC; the previously mentioned Charlie Cummins' engine mount; alternator (the STC shows an alternator; however additional approval was needed to install it in a Swift); Chesley stall strips given us by Bill Harris who got them directly from Lou Chesley. Lou happily gave us a copy of his paperwork; the previously mentioned blade type pitot tube with static system from Luscombe letter, and Whelen Strobes; a tailwheel we manufactured to accommodate an new 8" Scott 3200 series; and second "down" green light from Dick Collins' one time STC, and Jeanie's drawing #6. If you don't know, the Swift Maintenance Manual's drawing has a mistake or two.
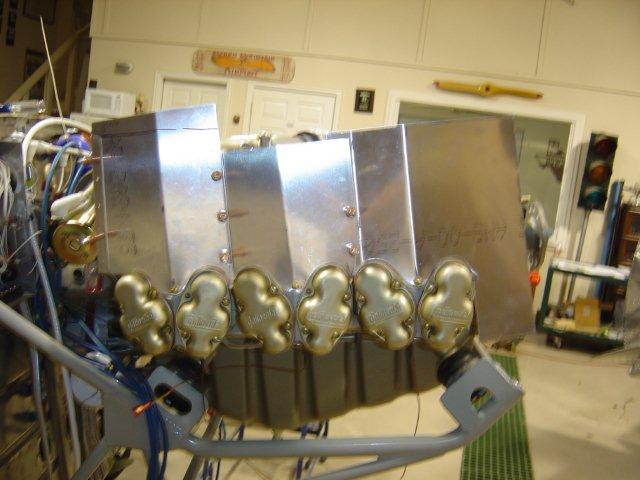
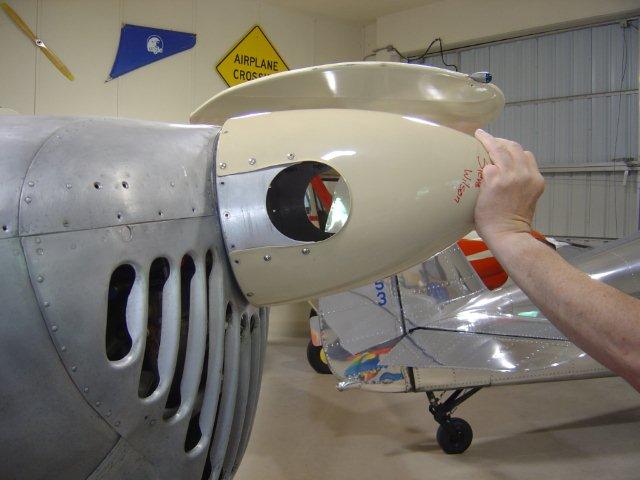
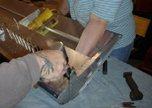
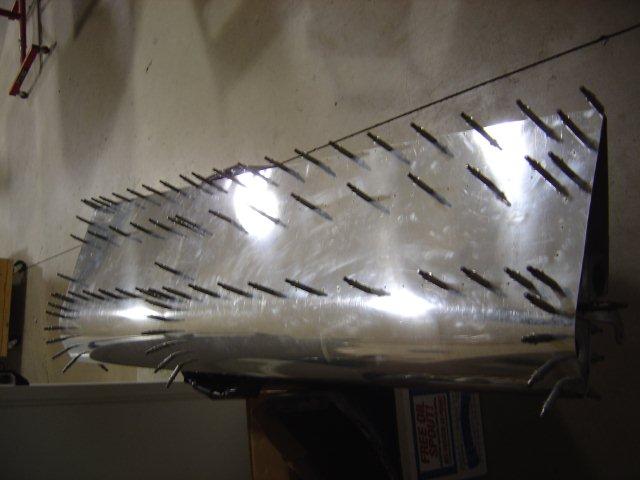
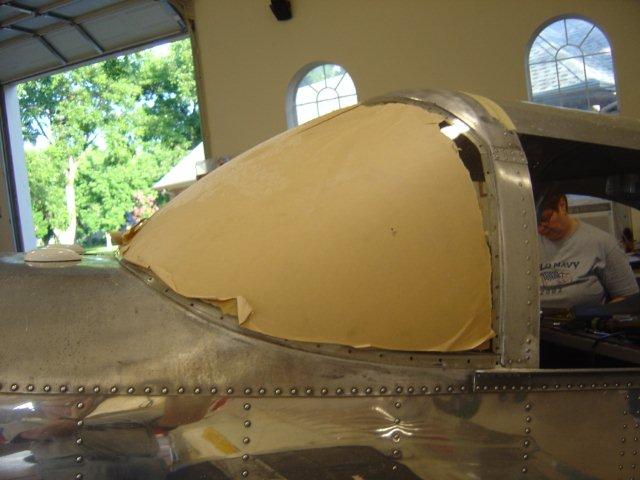
The engine baffling and cowling installation took more time than any other single item we did on the airplane. We had some help with the baffling and it took a full four days to complete. The installation of the cowling is almost too hard to talk about. There are 52 screws in the cowling. I can't tell you how many times we had the cowling on and off 'til we got it to fit properly. We did trim the cowling for the governor control arm and made new attach brackets. The spinner is the McCauley 4101 spinner called out in the STC (found one from Vaughn Armstrong); however, the STC does not mention that it requires the backing plate be reversed and about 3/4" removed from the rear of the spinner to work with the stock cowling. Although hard to find, not to mention expensive, this is the spinner to have with a McCauley C67 prop! It fairs very well into the stock cowling. We stripped the paint and primer off and tried unsuccessfully to polish the spinner. Believe it or not, Easy Off oven cleaner will remove anodizing from aluminum and then it will polish.