navigation
rebuilding & restoring N3876K - part 3
by Steve and Barb Wilson
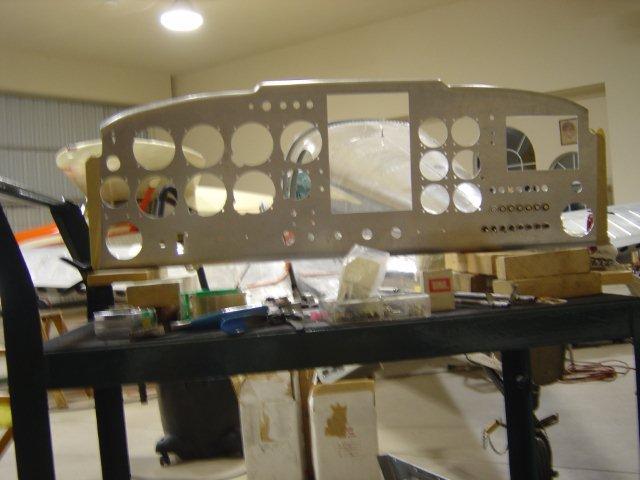
Designing the instrument panel was a multi-step process. First we went to www.epanelbuilder.com and purchased a subscription to design the layout. We went through several iterations until we got everything in and we were both happy. Next we shipped the panel to www.experimentalair.com in Spokane, WA along with the file for the design layout, and a list identifying every item of our layout to get the panel water cut. This took several weeks of back and forth e-mails to produce the CAD drawing necessary for the water cut machine. They needed the specifications for every radio, instrument, gauge, switch, light, etc. including mounting holes and clearances. When we got the panel back it looked fantastic; however, in spite of our best efforts, we still had to make a few minor corrections and additions. Both the GARMIN radios and EI gauges used a lot more circuit breakers than we initially realized! The radios were installed using www.radiorax.com supports, and the Pro-G Hub from www.approachfaststack.com .
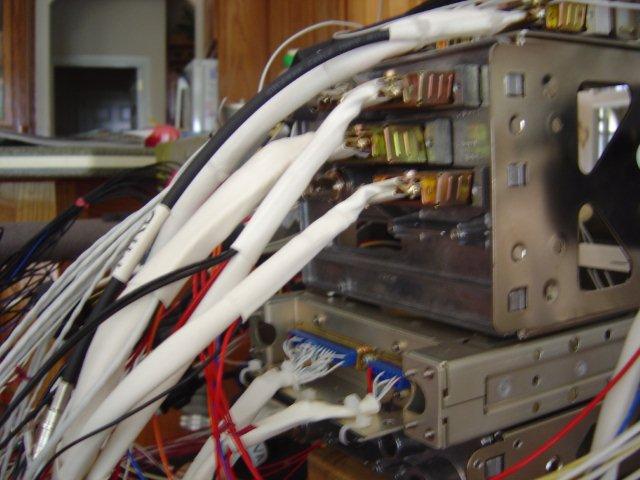

Everything was "test" mounted into the panel set on a rolling cart to insure proper fit. Then everything was wired while Barb could sit comfortably in a chair and work on the back of the panel. She was able to roll the cart into the kitchen where she could work while babysitting our Granddaughter, playing in her playpen. Once the panel was COMPLETELY wired, everything was removed from the panel and set on the cart with all the wires still attached. We then painted the panel the same interior color gray, and took it to www.alumagraphics.com of Wiley, TX, to have the lettering and placards silk-screened. Again, there were many drawings on clear velum mailed back and forth to get all the lettering laid out the way we wanted. Once the panel was lettered, everything was reinstalled and then bolted into place in the airplane as one unit.
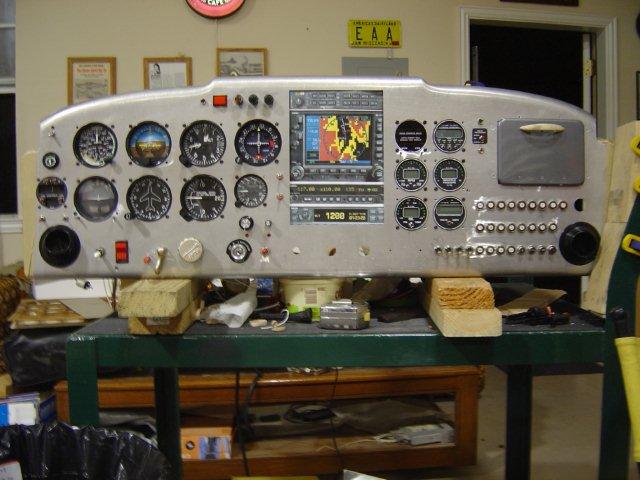
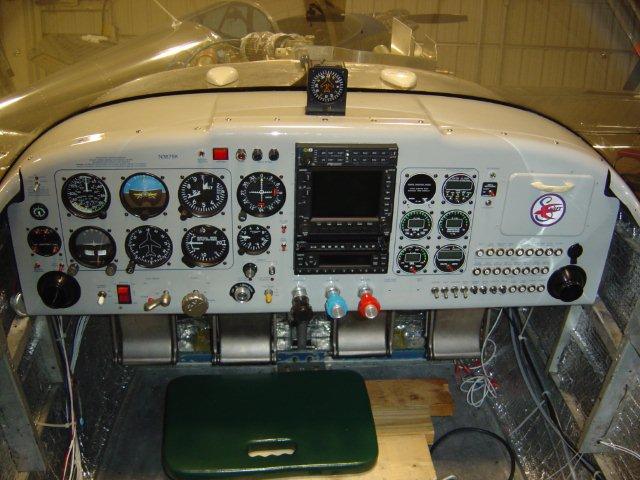
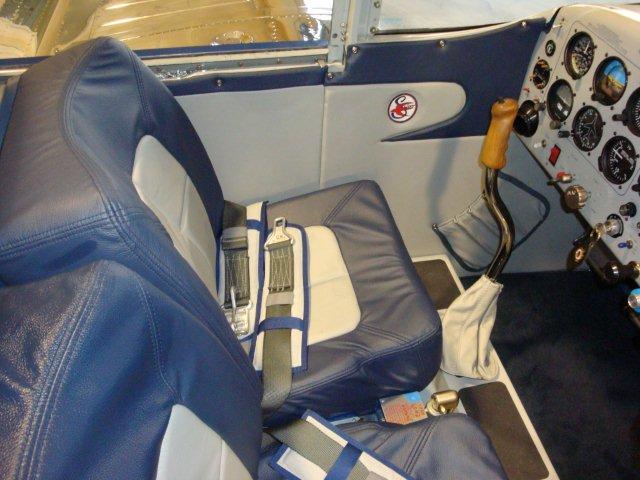
There was still a lot of work to be done upside down under the panel connecting all the ground wires and connecting everything into the rest of the airplane. All the flight instruments were either new or overhauled. They are basically "steam gauges," with maybe the exception of a digital clock. The engine instruments are Electronics International, type, 6 in total, engine analyzer, fuel flow/fuel pressure, RPM/tachometer, manifold pressure, oil pressure/temperature, and volt/ammeter. All approved by STC. The radio stack is by GARMIN. We opted for the GNS530, accompanied by the GTX330 with traffic information service (for as long as it is provided), and the GDL69 with XM weather. This installation is a minor alteration per FSAW 94-32C, paragraph D (1). When power was applied to the panel EVERYTHING worked the first time. A tribute to Barb's wiring expertise.
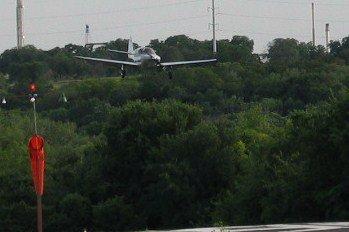
Our first test flight was on Mother's Day, May 11, 2008 with borrowed seats from our other Swift N77753. No big problems; however, we had some issues... Left wing heavy, Calibration of the FP-5L fuel pressure gauge was wrong, as was the OPT-1 oil pressure gauge. I made a second flight the following day and then took the airplane apart again, sent in the gauges to EI for re-calibration. We made some modifications to the baffling, and some other minor changes, but for most part, the project flew and flew successfully.
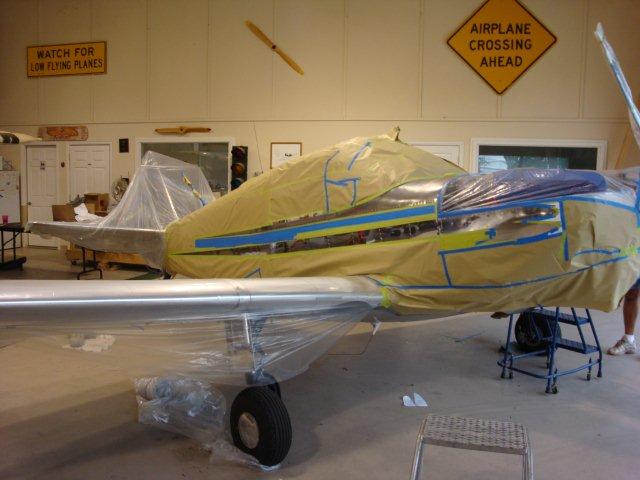
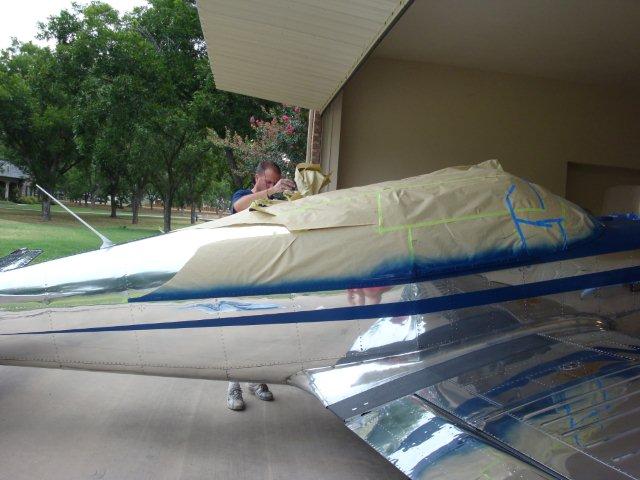
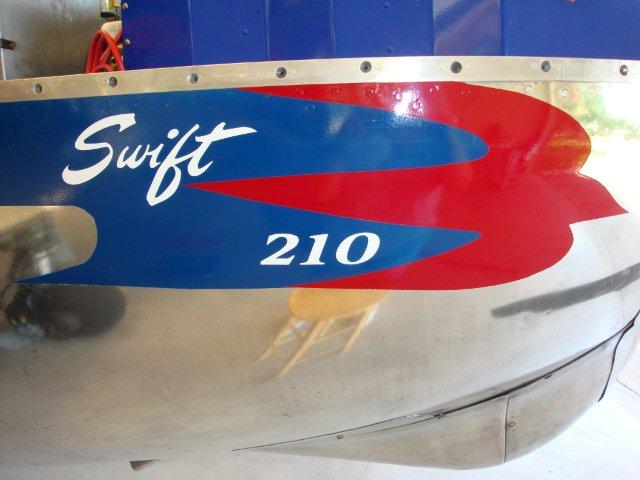
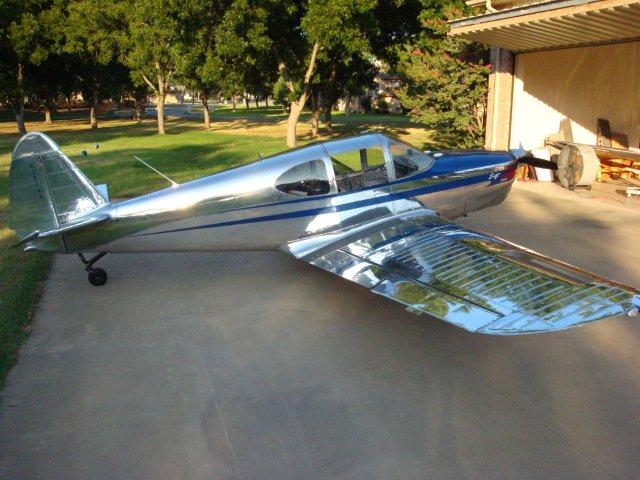
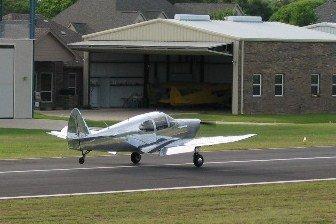
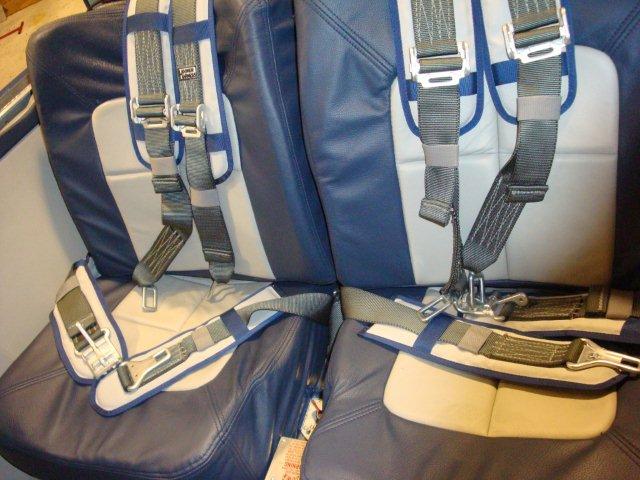
An oil fill/dipstick access door on cowling was made and on original paint scheme was added. The word "SWIFT" and the number "210" were added with vinyl lettering and the red bird was done with Krylon spray paint. We split the original seat back into two separate backs. The last piece of upholstery was finished at 9pm the night before we left for Lake Elmo. That was cutting it close. Some minor adjustments still need to be made but they did not keep us from flying.

Although it had flown about 11 hours before the trip to OSH, we did have some teething problems. One of the fuel injector lines broke in-flight on the way home from OSH. We stopped in Monroe, WI and got a temporary line from the FBO to get us on our way. We stopped in Tulsa, OK for fuel and had our first experience of vapor lock. We examined the fuel lines to insure we did not have a clogged injector and then spent the night. The oil consumption increased throughout the trip and one primer overflow drain increasingly dripped oil. At home we removed the cowling to return the borrowed fuel line and did a compression check to see how the engine was breaking in. The number 6 cylinder had basically no compression. Removal and inspection revealed the cylinder was overhauled improperly as they put in the wrong size valve seat, that during our trip worked loose. Interestingly, the engine analyzer never gave us any clues to the problem. The number 6 cylinder has now been replaced and 6 new fuel lines installed.
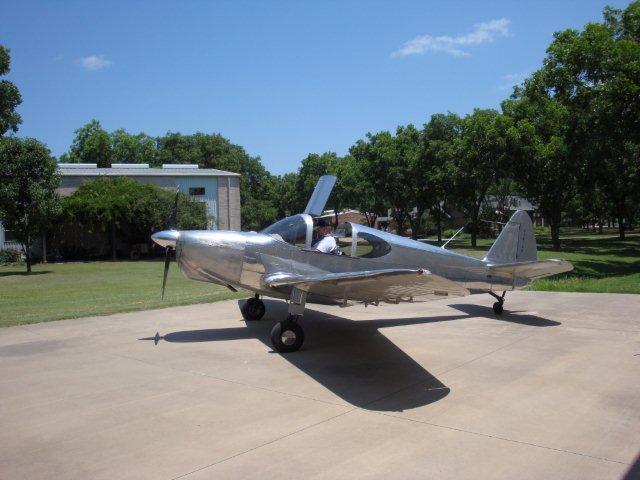
The cowl flap is still fixed, but we will eventually make it adjustable. We would like to replace the original gear doors with the hinged P51 doors. The Century I Autopilot is installed; however, we have not yet connected the servo. Some fine tuning of this installation is needed prior to completion. Polishing, as everyone knows is a never ending job. We are thrilled to have this wonderful airplane to fly. The speed, great fresh air, comfortable seats, modern radios make up somewhat for the length of time it took us to finish.
The End